How To Do Embroidery By Hand
How to do embroidery by hand - The art of embroidery began 1000's of years ago. Early examples could be discovered all around the world. There may be ancient embroidery from Egypt, Northern Europe and China. The place and how it actually started will stay a mystery. What we do know is that in Europe, embroidery was a status symbol. The usage of a needle and thread as a way to sew patterns on cloth was an indication of wealth and prosperity. It was thought-about a woman's work. Many royal and noble women spent hours embroidering. They embroidered all the pieces, from tapestries to coats. These rich and highly effective girls have been often depicted in portraits with their embroidery body or different instruments used for the craft. Many other cultures share Europe's use of embroidery as marking wealth and prestige. Persia, India, Japan and China even have richly embroidered fabrics. These had been celebrated material and the ones who made them have been artisans of high caliber.
There are two main methods to avoid wasting a stabilizer. The primary is through pre-planning, hooping your stabilizer a bit in another way than normal, and the second is utilizing leftover scraps of stabilizer after it has been used for embroidery. How you narrow and hoop your stabilizer can lengthen the variety of embroideries you possibly can stitch out, saving you money. When slicing your unique piece of either reduce away or tear away to place in your hoop, cut it the scale you need in a single dimension, both length or width, however for much longer within the other dimension. For example, in case you are slicing an 8-inch large piece for a 4x4 hoop, you could cut the stabilizer 8" x 24". Embroider the primary design at one end. After neatly cutting or tearing the stabilizer away from the finished design, re-hoop at the same finish to your subsequent design, starting simply previous the torn part. You might need to press the stabilizer using a dry iron on low temperature in between hoopings whether it is wrinkled. Now you possibly can reuse more of the stabilizer, possibly being able to sew out 4 (4) embroideries, depending on their dimension, from the one piece, instead of the three (3) embroideries you'll get by reducing three pieces 8"x8". Take this concept to the acute, and do not cut your size off in any respect. Hoop your stabilizer, leaving the roll hooked up towards the top of the hoop. Place the roll behind the machine, out of the way in which of the hoop, embroidery arm, or any threads. After the embroidery is full, tear the stabilizer away, press the wrinkles out, and hoop again at the vanguard.
To start embroidering youll need the following items. Diy Hand Embroidery Patch.

Wie Man Handstickstiche Macht Handembroiderystitches Handembroiderystitches Handembroide Brazilian Embroidery Embroidery Patterns Embroidery Kits
These come in plastic and wood - I prefer plastic for doing the embroidering and wood for displaying the embroideries.

How to do embroidery by hand. Pencil pens or vanishing ink. Ad call or come by. Store your thread embellishments and other supplies in one of these handy bins.
Ad call or come by. Hand embroidery for beginners - Part 1 HandiWorks 51 - YouTube. This also helps remove wrinkles.
I chose the word wander and a very basic font. To start embroidering youll need the following items. In hand embroidery you can create beautiful work no matter how many stitches or fancy techniques you know.
You put the fabric in between the hoops - this helps keep it taut making the embroidering easier. That way when you run out of thread youll know what type of skein to buy. When it comes out of the water gently press away excess water with a towel.
Then place the embroidery on a folded towel and press from the back with an iron. You can use a word processing program to select a font print it out and transfer to your fabric or simply draw the letters by hand. Hand embroidery patterns on paper.
To practice choose a word at least 5 or 6 letters long. Youll discover that hand embroidery actually is very easy to begin without spending a huge amount of time and money. Once you get the needle moving you can learn new techniques and embroidery stitches or use the skills you already learned.
When youre done stitching your embroidery may need to be rinsed or soaked to remove markings. 15 Great Ways To Make Homemade Patches Embroidered Patch And heres how. What Youll Need to Start Hand Embroidering.
Embroidery hoop this is a ring consisting of two parts. Youll need the following to learn how to do hand embroidery. Embroidery threads are thicker than regular cotton you would use for other sewing projects but theyre finer than yarn for knitting or crocheting.
All of the letters in this tutorial are stitched using four strands of DMC embroidery floss. Embroidery hoop - this is a ring consisting of two parts. Cutwork cutworkembroidery cutworksaree sriradhikacreations Hand embroidery cut work designehow to do cutwork hand embroidery designeచరక cutwork ఎల.
Experienced embroiderers often experiment with the threads they use but it makes sense to start with standard embroidery. Hand Embroidery Stitches for Everyone 2nd Edition-Juby Aleyas Koll 2021-03-01 Hand Embroidery Stitches for Everyone 2nd Edition is the ultimate stitch guide to embroidery. Before you begin stitching with a thread write the color on one of these bobbins and then wind it around the plastic piece.
Tampons and Virginity Time to Tampax with Amy Schumer. An item to patch up.

Learn Hand Embroidery With Me Needle Threading And Away Knot Hand Embroidery Projects Hand Embroidery Embroidery Patterns

Hand Embroidery For Beginners Part 2 10 Basic Filling Stitches Leaves With Drawing Explanations Embroidery Techniques Embroidery Patterns Hand Embroidery

Easy Flower Embroidery Designs Sewing Embroidery Designs Embroidery Flowers Pattern Flower Embroidery Designs

How To Do Padded Satin Stitch Sarah S Hand Embroidery Tutorials Hand Embroidery Tutorial Embroidery Leaf Sewing Embroidery Designs

How To Do Brazilian Embroidery Stitches Brazilianembroidery Framed Embroidery Hand Embroidery Projects Brazilian Embroidery

Hand Embroidery Pattern Lavender Digital Download Pdf Etsy Hand Embroidery Pattern Flower Embroidery Designs Embroidery Patterns
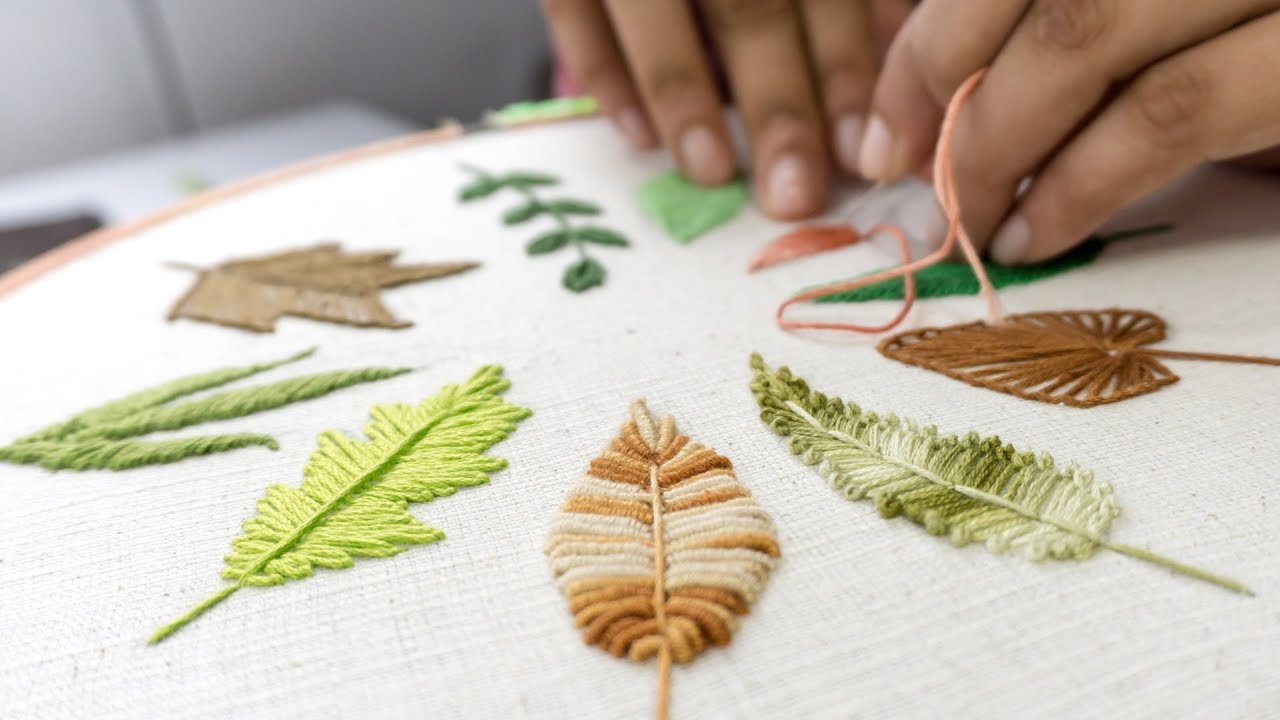
10 Hand Embroidery Leaves Hand Embroidery For Beginners 10 Types Of Leaves This Video Will Embroidery Leaf Embroidery For Beginners Hand Embroidery Flowers

Embroidery Stitches Guide Cutesy Crafts Video Video Sewing Embroidery Designs Embroidery Stitches Tutorial Hand Embroidery Stitches

How To Do The Braided Chain Stitch Sarah S Hand Embroidery Tutorials Hand Embroidery Tutorial Embroidery Tutorials Embroidery Patterns

No 119 Pdf Pattern Of How To Do Flower Hand Embroidery Vintage Etsy Ribbon Embroidery Embroidery Tutorials Embroidery Patterns Vintage
Learn How To Do Needlepoint Embroidery Stitches Tutorial Basic Embroidery Stitches Embroidery Techniques

Pin On Ours

Hand Embroidered Lettering Sewing Embroidery Designs Hand Embroidery Patterns Embroidery Tutorials

Hand Embroidery For Beginners 14 Basic Stitches With Drawing Explanations Youtube Embroidery For Beginners Learn Embroidery Hand Embroidery Designs
I would like to offer you some tips for hooping satin jackets for machine embroidery. We do not need topping for satin jackets because it is a secure fabric, in contrast to sport shirts and t-shirts that are knits and stretchy. Hooping satin jackets is among the trickiest little jobs for the brand new embroiderer to grasp. The design placement on the jacket again should be excellent - not too low or high - and it must be straight. For placement, one rule of thumb is to place the underside of the lettering (if utilizing an arc, measure for the letter at the prime of the arc) seven inches down from the collar seam. One other is to put the design's heart at roughly 9 or 10 inches down from the collar seam. (This is just a guideline. If you have to, get a sewout of the design or photocopy the actual measurement and lay it on the jacket to determine one of the best placement.) To get the design straight, lay the jacket flat and clean, and using clothespins, connect a yardstick under every sleeve where the seams come collectively. Draw a line with tailor's chalk or soap for the horizontal placement. Make a halfway mark on this line to show the middle. Make sure to double-check these measurements along with your eye - jacket making will not be a precise science and generally you have to alter one way or another to make up for discrepancies in measurements.
Janome designed the Memory Craft 9700 to deliver together all the perfect features into one stitching machine. The MC9700 has the ability and precision of a superior stitch mechanism mixed with the sophistication of computerized control. You get the precision stitching Janome is known for along with easy navigation and design format on a colour contact screen. The Memory craft 9700 can convert from a sewing machine into an embroidery machine in seconds. Unlike other brands that require separate attachments and numerous steps the 9700 has a built-in, two-step conversion. Just contact the embroidery mode key then connect the embroidery foot and one minute it is a sewing and quilting machine the next an embroidery machine.
Deanne Blackhurst is a contract writer for Dee's Crimson Works, a web based site that specializes in Redwork and Cross Stitch patterns. Utilizing the standard redwork style as inspiration, these new patterns are moderately priced and have a fun vintage really feel but with a fresh perspective. At Dee's Purple Works you could find basic units that characteristic the Days of the Week and charming Solar Bonnet Girls in addition to the extra current Cheese and Wine collection and Celtic Knots. They also carry thread and notions particularly designed for redwork and cross stitch. Visit them at Dee's Crimson Work Inc [http://www.dsredwork.com] and discover a pattern you can't resist.


Comments
Post a Comment